As I work on the final block and the finishing ideas for our 25 week Block Along, I couldn’t help but reflect in what has transpired since I started this project. It started as a dream to get my YouTube channel up and running regularly and find equally passionate online friends to build community with while stitching up some fun, beautiful projects. I also dreamed that one day it would be something I could do full time. Little did I know that this day would come in the middle of this Block Along.
As each week went by, I saw names regularly drop in and come to sew along and chat. Then, it was more than that. It was a group of quilters who started knowing each other and asking each other how their week had been. How their child was doing. If they had news on recent PET scans. I also saw these same people cheer me on, but even more so, my husband who has been so supportive along this journey.
I can’t thank you enough for joining me as I tripped up, stumbled and did my best over these last few weeks. I anticipate this will get better and better. But for those of you who rallied behind me and encouraged me each week, I want to say thank you. From the bottom of my heart.
Finishing Idea:
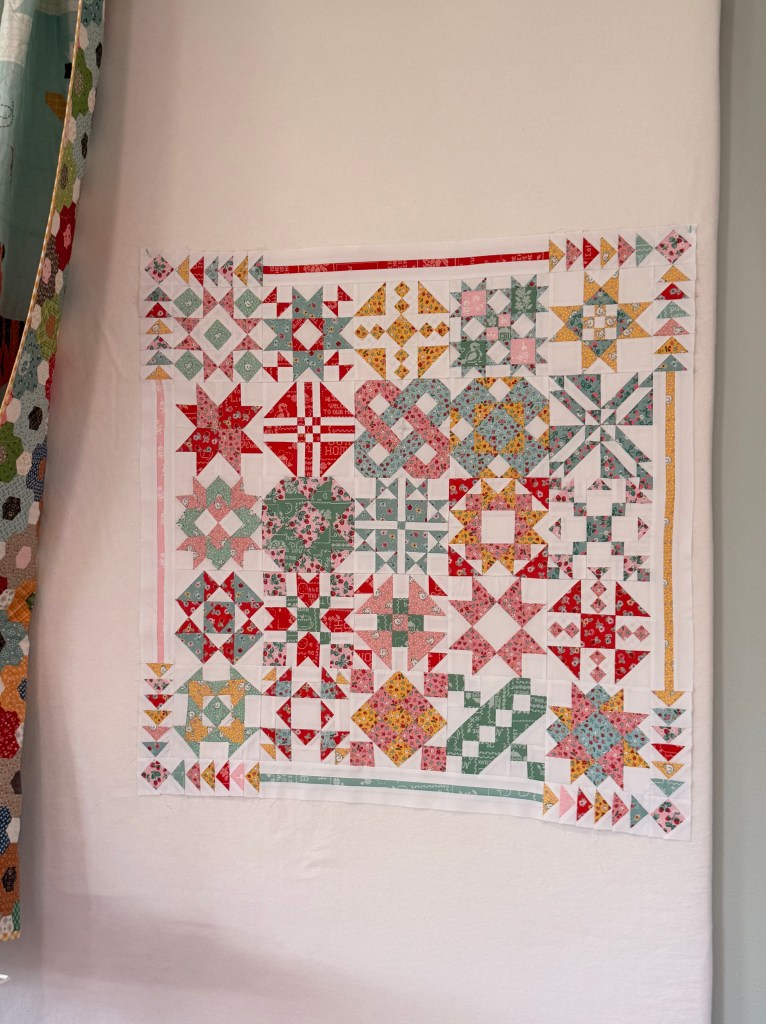
I love a good flying geese pattern and this wallhanging is screaming for it! I designed this setting to give you an idea of how to finish your quilt. You DO NOT have to do this. This is just what I did and I wanted to share!
Instructions:
- Make 48 flying geese (1 1/2″ x 2 1/2″)
- Make 4 economy blocks (2 1/2″)
- Cut 4 strips (1″ x 19″) out of patterned fabric
- Cut 8 strips (1 1/2″ x 19″) out of background fabric
Finishing:
- Put together 6 flying geese all pointing in the same direction (make 8 sets)
- Sew 1 strip of patterned fabric to 2 strips of background fabric to make 1 strip set (make 4)
Attach to quilt:
- Sew 1 strip set to one flying geese set.
- Sew 2nd flying geese set to the other end of the strip set. Make sure that your arrows are pointing in opposite directions.
- Your 2nd flying geese set should align with the bottom block. If it doesn’t, don’t panic! You can adjust the length of your strip set to accommodate.
- Repeat these steps to make 4 sets.
- Attach 1 set to each side (left and right) of the quilt.
- With the remaining 2 strip sets, attach the economy block to each end.
- Attach last 2 strip sets to the top and bottom of quilt.